

Video Retail Interior Design Mockup
Mockups are creative, often photorealistic presentations that preview how a design could look or function in the real world. In other words, implementing any one of these 4 professional mockup techniques allow a glimpse into the future: a logo design printed onto a bag carried by casual shoppers, an app scrolled by an invisible hand, or even a fully branded store front. Do do this convincingly, you need to know how to make mockups that look professional. Here we'll tell you how.
Though they are composed of images, design mockups are at their most powerful when they tell a story. The attention and detail poured into that story determines whether the viewers will find it compelling or sleep-inducing.
There are two elements that make a mockup technique successful: creative scene setting and the realistic inclusion of the design. We've previously covered the former topic with tips that focused on formulating a mockup concept and selecting the right imagery to tell a story. In this article, we are going to rundown the technical aspects of how to create a mockup of your design with the 4 most common techniques to make mockups.
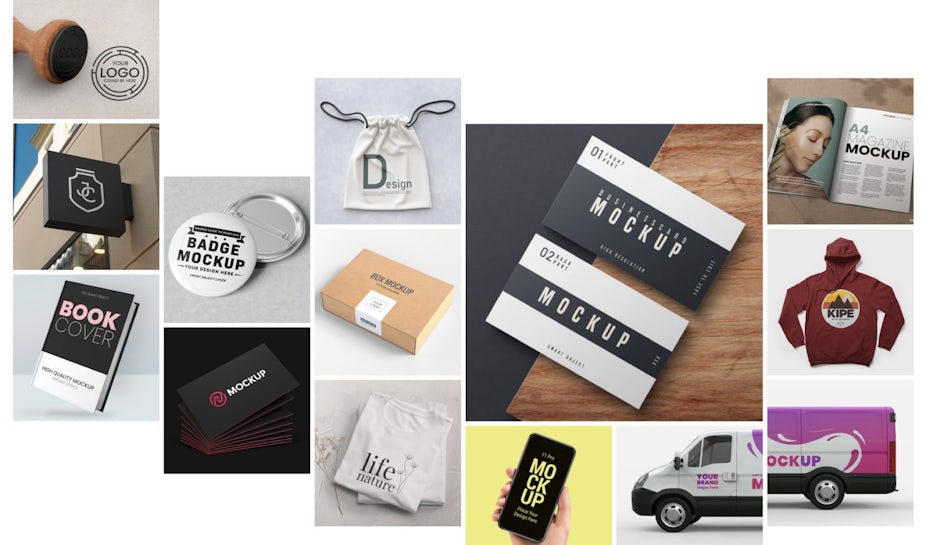
Here are the top 4 ways to create mockups:
- Create a custom mockup from scratch
- Create reusable mockup templates
- Use a mockup generator website
- Use a mockup creator software plugin
1. Create a custom mockup from scratch
—
A custom mockup is one that is completely tailored to a particular design. If you want to make mockups that are unique, this is the technique that we recommend for the best results. Considering that the purpose of a mockup is presentation and ultimately persuasion (which is to say, selling the design concept), it stands to reason that the most persuasive mockup is one that is tailored for a specific client.
But of course, creating mockups from scratch for each project is not the most practical approach. It requires a great deal of effort for something that is essentially a one-time presentational asset. It is also only useful if the mockup concept is highly original—there's no point going to all that trouble if the result is indistinguishable from a template. It is ultimately up to you to decide whether you are passionate enough about the project or client to go the extra mile to create a mockup that is one of a kind.
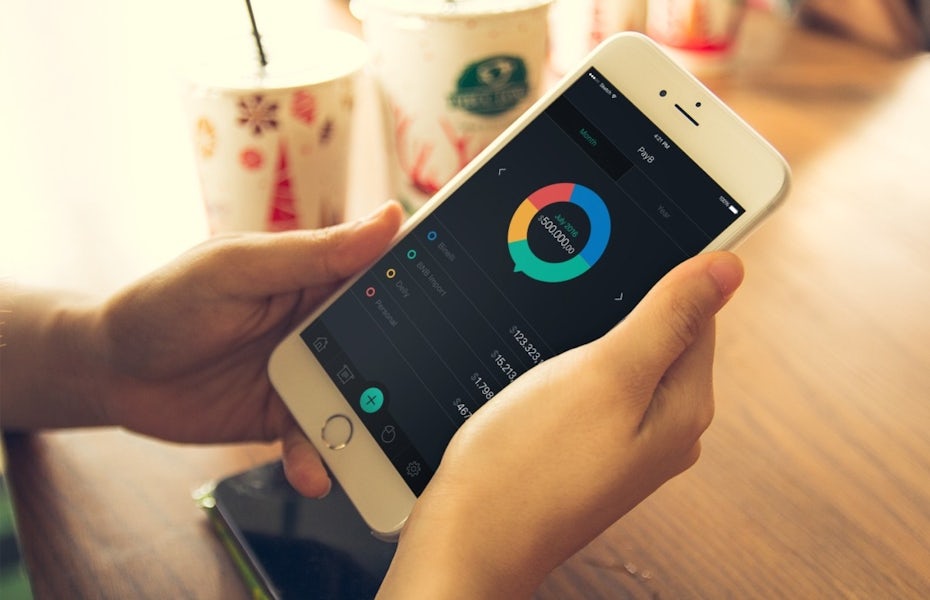
For a truly custom mockup, you will need original photos. This allows you to create a mockup scene that is much closer to your design vision whereas stock photos are by their nature made for generic settings and scenes. If you have the equipment, experience and time you can take photos yourself. In this case, you should brainstorm or sketch the scene beforehand—similar to how you might storyboard a movie.
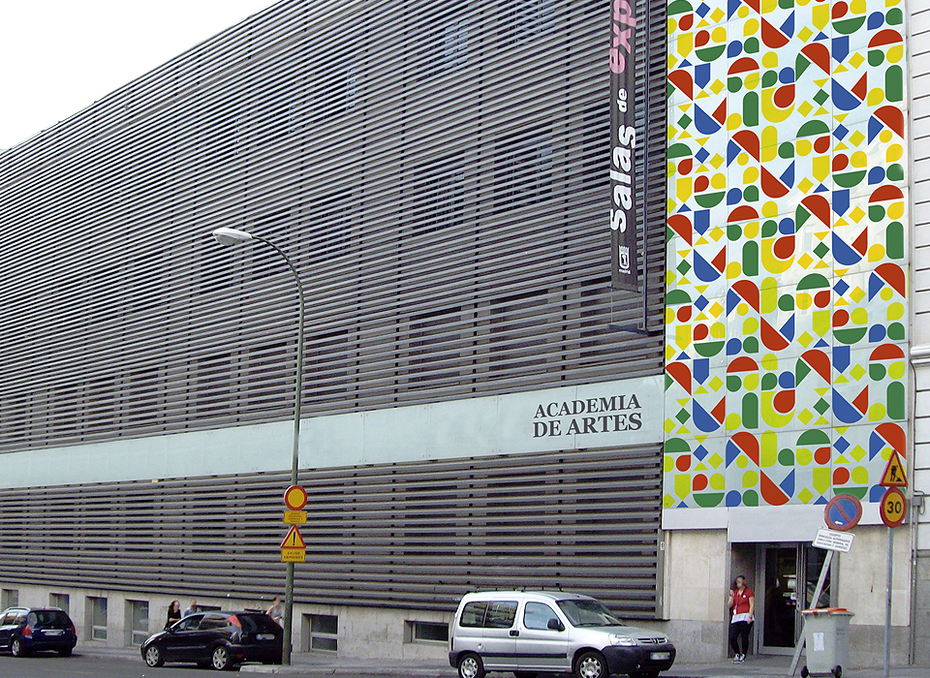
You can also hire a professional photographer, but this, of course, is an expense that is not going to be practical for every designer—it is more likely in the realm of a design agency working for enterprise clients. A great alternative is to use photos belonging to the client: for example, Top Level designer goopanic applies his branding for Academia de Artes to actual photos of the school and its students. Even if these photos are not as high in quality as a professional stock photo, they will give the client a more authentic picture of how their design will end up looking.
Once you have the photos, you will need to use photo manipulation software to incorporate your design into the image. The most common software for this purpose is Adobe Photoshop, but Affinity Photo and Gimp are reliable alternatives. These programs provide a variety of tools and tutorials for achieving realistic results, and they basically come down to:
- transform tools to fit the design onto an image
- blending modes to incorporate texture from the original photo
- adjustment layers for working with lighting, color, and contrast
If you want to work in custom animations, use animation software such as After Effects: for example, you can use layer masks to create scrolling animations for apps on a photo of a phone.
Tools needed
- Photography and/or photography equipment
- Photo editing software (Photoshop, Serif Photo, Gimp)
- *Optional* Animation software (Adobe After Effects)
Cost
- Moderate to high
Pros
- Results in mockups that are specific and truer to the designer's vision
- Original images; no watermarking or need to purchase licenses
Cons
- Expensive and high effort; requires more advance software knowledge
- Inefficient and time-consuming
2. Create reusable mockup templates
—
Custom mockup templates are mockups that designers make themselves but are general enough to be recycled for multiple projects. As we pointed out in the last section, creating custom mockups for every project can be impractical and costly, but this technique allows the designer to create mockups that are both original and reusable for a lowered expense.
It is also a way for the designer to add their own personal brand or repeated style signature to their presentations for clients.
The process for creating mockup templates is essentially the same as creating tailored mockups: you still need to acquire photography and use a photo editing program to incorporate the design. One difference is in the approach to your mockup photography: it has to be unspecific enough to work for multiple clients—for instance, instead of using any identifying scenery, Top Level designer Daria V.'s mockup backgrounds focus on illustrated accents that can be changed with each project.
It can help to group clients based on common themes such as industry (you might have one mockup template for all of your restaurant owning clients, one for all of your retail clients, etc.). Doing so makes it easier to select imagery that will work in shared contexts.
For physical products, some designers create blank product renderings using 3D software such as Adobe Dimension, and this has the added benefit of allowing you to create rotatable, animated mockups.
In order to create your template mockup in Photoshop, your goal is basically to set up the document so that the design can easily be swapped out in future projects with all of your manipulations carried over. Photoshop provides two useful tools for this purpose:
Photoshop smart objects:
A smart object is essentially a container that stores an image in a linked document, allowing you to make drastic changes to it within your larger composition without affecting the original image. If you replace the image in the smart object, it updates in the composition with all of your changes applied to it.
So with mockups, all you need to do is convert your design layer to a smart object at the start of your project (go to Layer > Smart Objects > Convert To Smart Object). Afterwards you can simply replace the design inside of the smart object the next time you need a mockup.
Photoshop actions:
Actions record the changes that you've made within a Photoshop document so that you can repeat these steps with the press of a button, eliminating redundant tasks. So with a mockup, you could use an Action to record all of the transformations and effects that you apply to a design to get it to fit within the photo, and apply these same changes to another design in the future simply by pressing a button.
Tools needed
- Photography and/or photography equipment
- Photo editing software (Photoshop, Serif Photo, Gimp)
- *Optional* 3D software for creating product renderings
Cost
- Moderate
Pros
- Repeated use justifies the effort in making custom mockups
- Original images; no watermarking or need to purchase licenses
Cons
- Requires more advanced software knowledge
- Can be a waste of effort if the results are not sufficiently different from a third party template
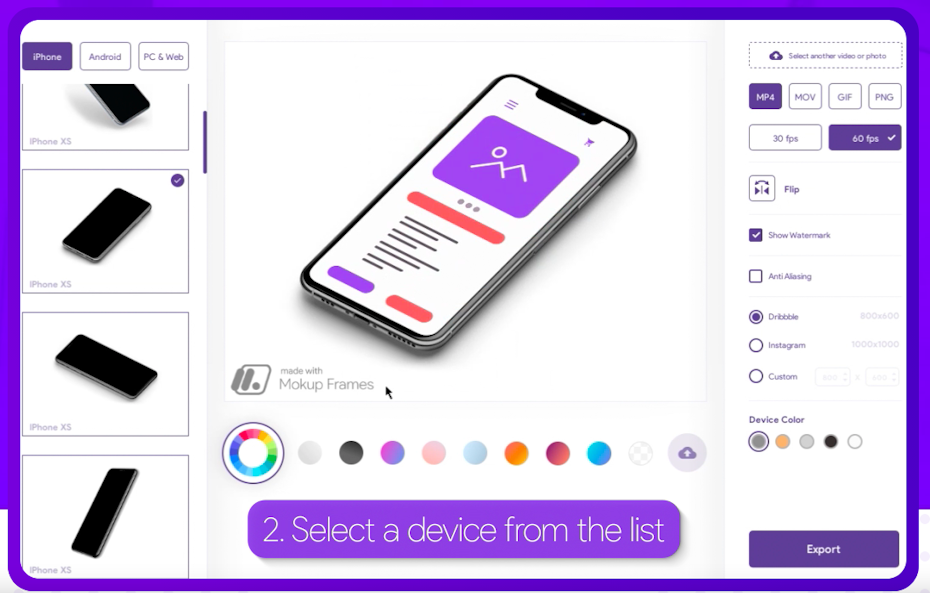
3. Use a mockup generator website
—
A mockup generator website is an online service that uses stock imagery and AI software to automatically create a mockup from a third party template. Typically, all the designer has to do is upload their design and the software takes care of all the technical considerations.
This technique is by far the cheapest and easiest solution, but it does come with some drawbacks. The resulting mockup will be unoriginal, and given that many designers will have used the same service, it is not uncommon to see the exact same mockup images cropping up ad nauseam all over portfolio sites. At the same time, this can be useful in a pinch, and unless the client is a purveyor of design mockups, they likely will not mind.
When selecting a service, you will want to consider the following: price, quality and relevancy. In terms of price, many mockup generators are free to use, though you want to be wary of hidden inconveniences like watermarking or limited template selection. Otherwise, price is usually based around a subscription model, and most of the services I reviewed are in the $10 to $20 per month range.

Quality can depend on personal taste, but you should spend some time researching mockups that other designers and competitors use to get a feel for what is clever and what is common. You can also use services like Trustpilot to find user reviews to tell you outside of promotional materials how well a service works and how the actual results are like.

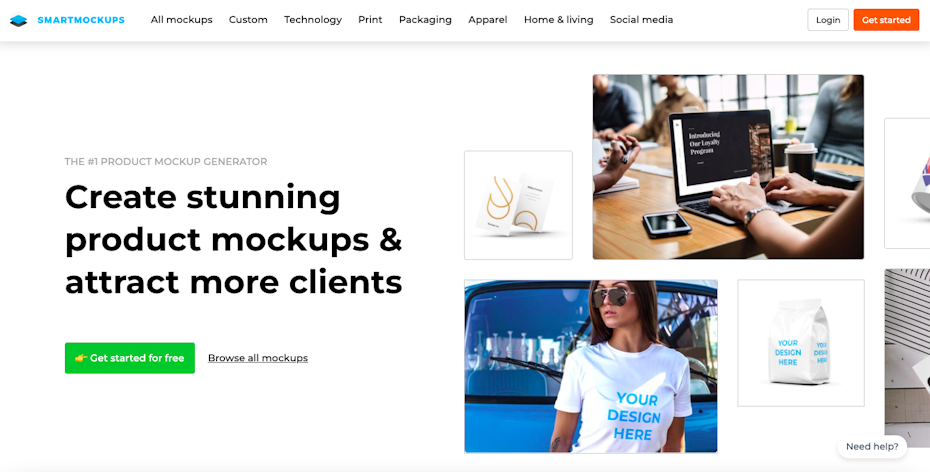
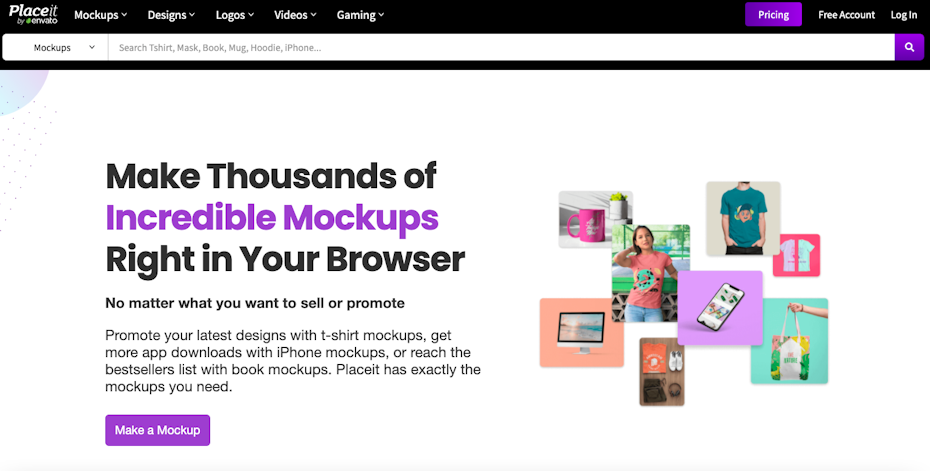
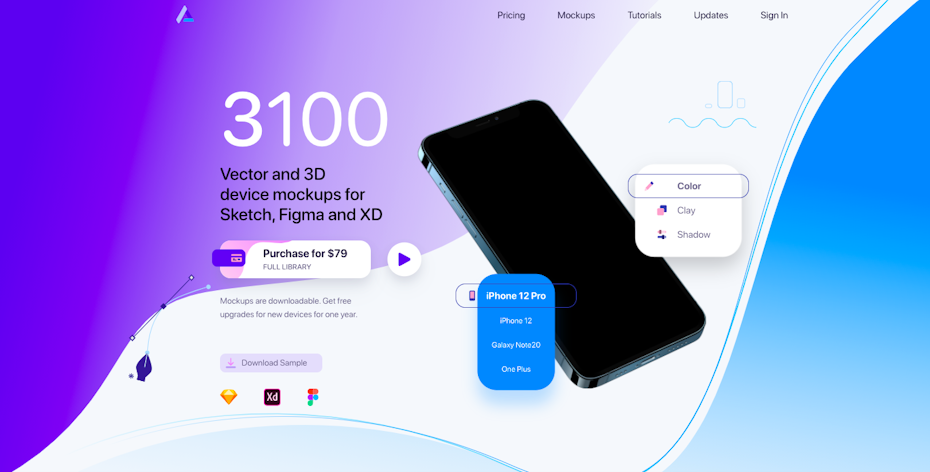
Finally, some of these sites specialize in certain types of mockups, and you will need to choose one that will be relevant to your projects, especially if you are purchasing a subscription. For example, Artboard Studio and Mockup Mark specialize in print and apparel mockups. Services like AppMockUp and Mockuuups Studio specialize in digital design mockups. Meanwhile Smartmockups, renderforest, and Placeit offer general mockup templates for both print and digital.
Tools needed
- Reliable internet connection
- *Optional* Membership to a mockup site
Cost
- Free to Low
Pros
- Fast and low effort; no software knowledge necessary
- Quality can sometimes be close to a custom mockup
Cons
- Results in a generic look with images shared by many designs across the internet
- The subscription model is only useful if several mockups are needed
4. Use a mockup creator software plugin
—
Mockup plugins are third party integrations that connect with design software to generate mockups. Essentially, these applications allow designers to design and mockup all within the same program, with the added benefit that the designer can use the program's tools to make adjustments to the mockup after it is generated.
It is like the best of both worlds: a low cost, low effort template with potential for customization. With that said, this technique is generally reserved for digital designs, with most plugins targeting app prototyping software such as Sketch, Figma, and Adobe XD.
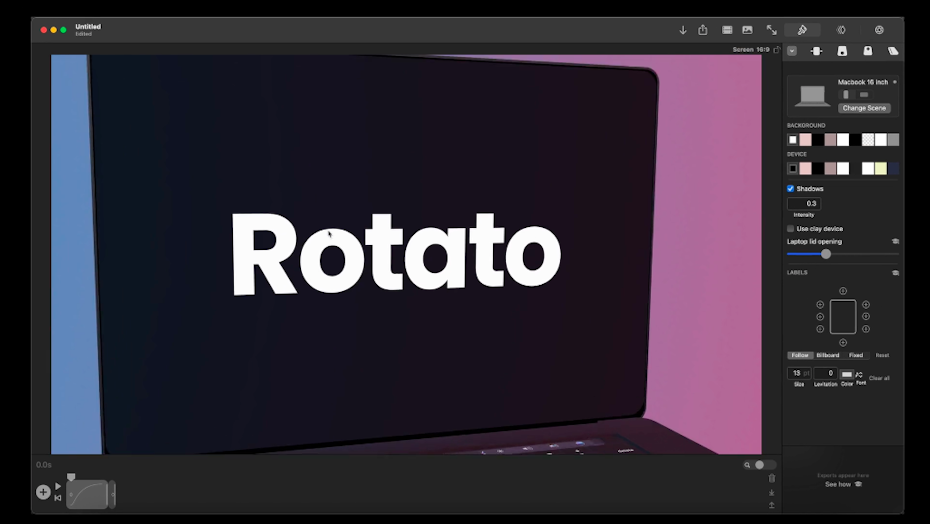
There are few popular services that provide downloadable plugins, and these include Angle, Rotato and Mokup Frames. Because these software are downloadable, they typically come at a one-time cost. This price is usually higher than most mockup generator websites, but it is lower in the long run since you are not paying a subscription fee.
You will need to follow the instructions for the particular site for how to download and install the plugin into your software. From there, you will have the option to apply a design from your software to a mockup. The process from here is similar to using a mockup generator website: the plugin will automatically create your mockup and you will use customization tools to finalize it.
Tools needed
- Design software (Sketch, Figma, Adobe XD)
- Plugin license and download
Cost
- Low
Pros
- Fast and low effort; little software knowledge required
- Mockups are created within the design software as part of the design process
Cons
- Results in a generic look with images shared by many designs across the internet
- Results are not significantly different from online mockup generators
Time to make mockups that stand out!
—
Design mockups are incredibly powerful presentation tools that not only sell a design idea—they give the viewer a window into a future where that design already exists. When done well, the client will be all but compelled to make that future a reality.
As this article has laid out, there are many techniques for creating mockups, and each has their inherent benefits and disadvantages. But no matter how you make your mockups, the results will ultimately depend on the designer and their commitment to a realistic mockup rendering that leaps off the screen.
Need a stunning custom design?
Our designers can help you create just about anything.
This article was originally written by Rebecca Creger and published in 2013. It has been updated with new examples and information.
Video Retail Interior Design Mockup
Source: https://99designs.com/blog/tips/creating-professional-mock-ups/
Posted by: lincolnancestrand.blogspot.com
0 Response to "Video Retail Interior Design Mockup"
Post a Comment